



November 3, 2025


Build a Simple Raised Garden Bed in an Afternoon
Growing your own food is one of those things that sounds complicated until you actually try it. The truth? A raised garden bed is one of the most beginner-friendly weekend projects out there, and with the right materials, you can have it built and ready for planting in a single afternoon. No prior carpentry experience required, no special tools, and no green thumb necessary — just a free Saturday and a little motivation.
Why Raised Beds Work So Well
Raised beds give you total control over your soil quality, which means better drainage, fewer weeds, and healthier plants right from the start. Unlike planting directly in the ground, you’re not fighting whatever your native soil happens to be — compacted clay, poor nutrients, or years of neglect. You fill the bed with exactly what your plants need, and they reward you for it.
They’re also easier on your body. You’re not bending all the way down to ground level, which makes weeding, watering, and harvesting genuinely enjoyable instead of a chore that leaves your back aching.
And honestly? They just look great. A tidy, well-built garden bed can completely transform the feel of a backyard or side yard. It signals intention. It makes even a modest outdoor space feel cared for and purposeful — the kind of thing guests notice and compliment before they even know what you’re growing.
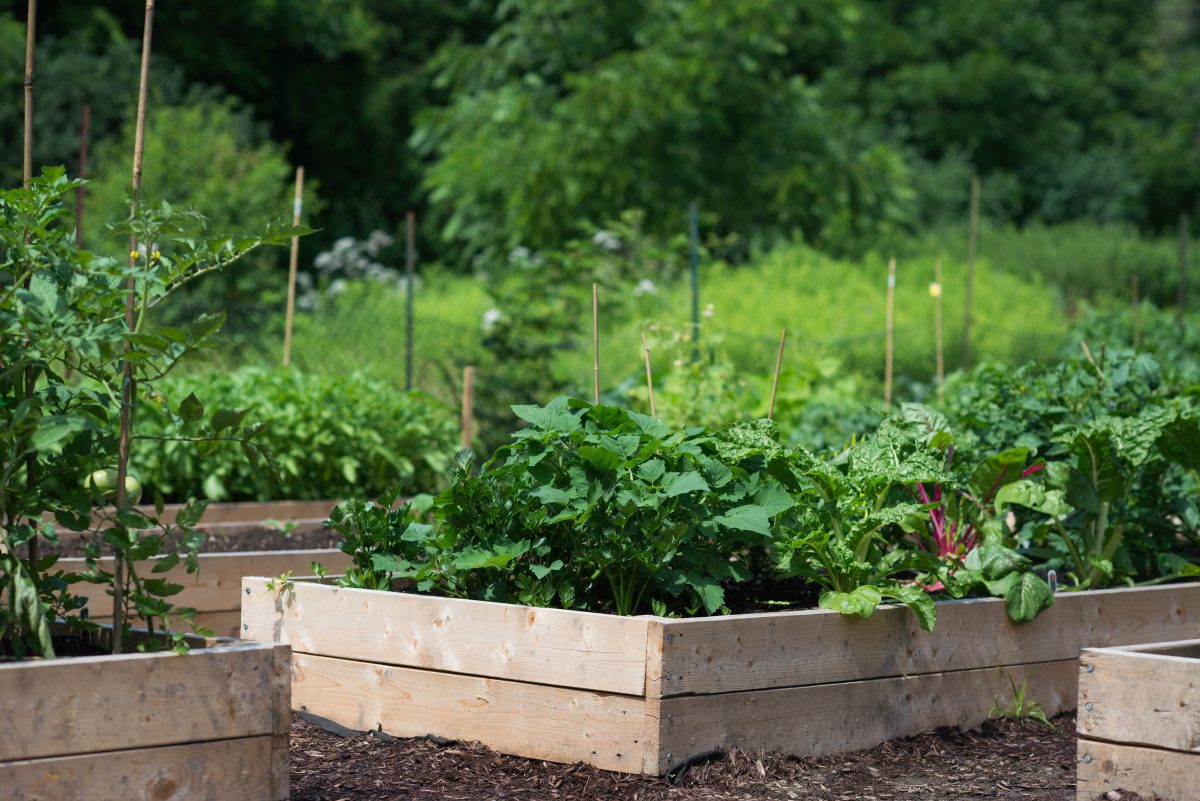
What You’ll Need
You don’t need to overthink the materials. A simple 4×8 foot bed made from untreated cedar is the classic choice, and for good reason. Cedar is naturally rot-resistant thanks to oils already present in the wood — no chemical treatment needed — and a well-built cedar bed can easily last 10 to 15 years. Avoid pressure-treated lumber if you’re growing anything you plan to eat, since the treatment chemicals can leach into the soil over time.
Here’s what to pick up at the hardware store:
- Two 8-foot 2×6 or 2×8 cedar boards (these will be your long sides)
- Two 4-foot 2×6 or 2×8 cedar boards (short sides)
- Exterior-grade screws, 2.5 to 3 inches long
- Corner brackets if you want extra stability (optional but worth it)
- A drill — that’s really the only tool you need

Total material cost usually lands in the $50 to $80 range depending on lumber prices in your area. If cedar feels too pricey, Douglas fir is a budget-friendly alternative that still holds up reasonably well, though it won’t last quite as long.
For soil, skip the bags of basic topsoil and look for a mix specifically labeled “raised bed mix” at your local garden center. These blends are lighter, drain better, and are typically formulated with compost already mixed in. A 4×8 bed filled to 8 inches deep needs roughly 12 to 15 cubic feet of soil — plan on buying a bit more than you think you need, since the mix will settle after the first few waterings.
Putting It Together
The actual assembly is simpler than you might expect. If you’re not comfortable making cuts yourself, most hardware stores will cut lumber to size for free or a small fee — don’t be shy about asking.
Once you have your four boards, stand them on edge and screw the corners together to form a rectangle. Pre-drill your holes to prevent the wood from splitting, then drive two or three screws into each corner. Add your corner brackets on the inside for a cleaner look and extra rigidity, and you’ve got a solid, finished frame.
From there:
- Choose your spot. Pick a location that gets at least 6 hours of direct sunlight per day. Most vegetables are sun-lovers and will struggle in shade.
- Level the ground. It doesn’t need to be perfect, but a reasonably flat surface will help with even watering and drainage.
- Fill with your soil mix. Add it in layers, tamping it down gently as you go. Leave an inch or two at the top so water doesn’t run straight off the edges.
The whole build, from unloading the lumber to filling with soil, typically takes two to three hours. The first time you do it. The second bed goes faster.
What to Grow This Spring in Michigan
If you’re in Michigan, late March through April is prime time to get cool-weather crops in the ground. These plants actually prefer the cooler temperatures of early spring and can handle a light frost without flinching:
- Lettuce — fast-growing and satisfying; you can start harvesting outer leaves within a month
- Spinach — cold-hardy and nutrient-dense; plant seeds directly and thin as they grow
- Radishes — arguably the most rewarding beginner crop; some varieties are ready to pull in as little as 25 days
- Kale — tough enough to handle a hard frost and keeps producing well into fall if you don’t pull it
- Peas — plant along the back edge of the bed where they can climb a simple trellis or even a few sticks
- Herbs — parsley, chives, and cilantro all do well in early spring and will come back to your kitchen all season long
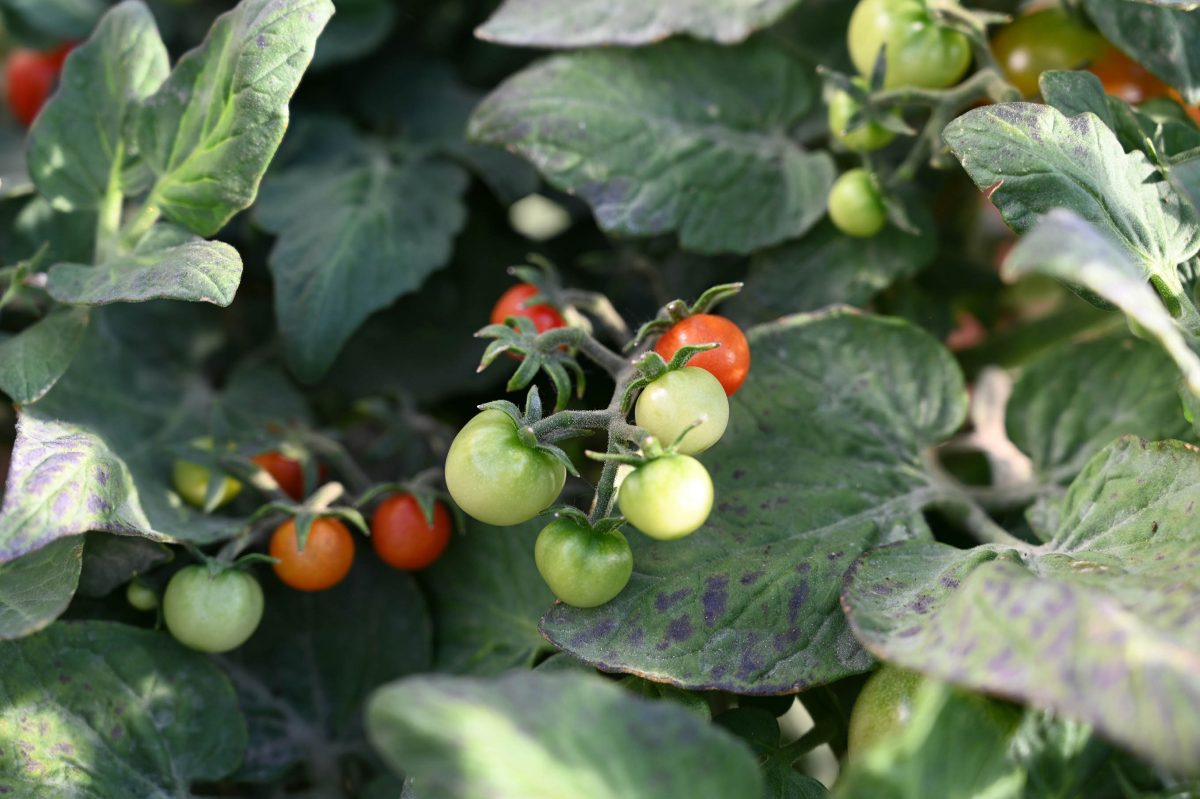


Hold off on warm-weather crops like tomatoes, peppers, cucumbers, and squash until after Mother’s Day (mid-May). Here in Michigan, nighttime temperatures need to stay consistently above 50°F before these plants will truly thrive. Plant them too early and they’ll just sit there, sulking in the cold, waiting for the warmth they need to take off.
A frost date reminder: Michigan’s last average frost typically falls between late April and mid-May depending on where you are in the state. Keep an eye on the 10-day forecast in early May — one late cold snap can sting if you’ve already put out your warm-season transplants.
A Few Tips to Set Yourself Up for Success
Water consistently, not excessively. Raised beds drain well, which is a feature — but it also means they dry out faster than in-ground gardens during hot stretches. Stick your finger an inch into the soil; if it feels dry, it’s time to water.
Mulch after planting. A layer of straw or wood chip mulch on top of the soil helps retain moisture, keeps the soil temperature stable, and cuts down on weeds significantly.
Label what you plant. It sounds obvious, but in the excitement of planting day it’s easy to forget exactly where things went. A few popsicle sticks or plant markers will save you from guessing games two weeks later.
Don’t skip the compost. Even with a quality raised bed mix, adding a shovelful of compost each spring before planting keeps the soil healthy and productive year after year.

Build it once and it’ll be waiting for you every spring — a little patch of ground that’s entirely yours to tend. You’ll wonder why you waited this long.
(Visited 330 times, 1 visits today)